Home
About Us
Additives
Ingredients
Instructions
Recipes
Creating Recipes
Links
Contact
Faqs
Lye Safety
Molds
Coloring Soap
Troubleshooting
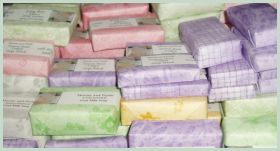
Packaging Soap
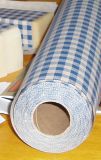
You can package your soap in a variety of ways using paper bands, cloth squares, or paper, among other options. We live in dust central, so we wanted to find a method of packaging that would protect the soap bars as soon as they are cut and stamped, while still allowing them to breathe and complete the curing process. Eventually, we chose mulberry paper, which isn’t the cheapest or easiest to work with, but it is somewhat porous and it looks nice too. Previously packaged bars have cured very well.
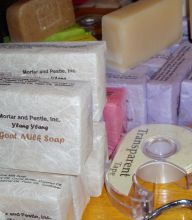
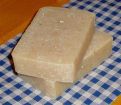
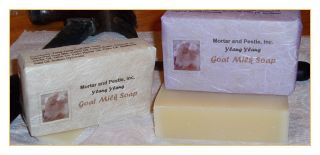
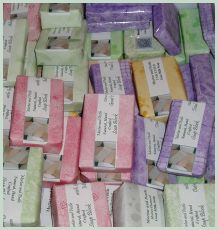
Our bars are blocks of soap cut from a loaf mold and definitely nothing fancy. Depending on the ingredients or additives, they can offer a variety of colors and best of all, they’re natural.
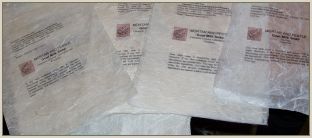
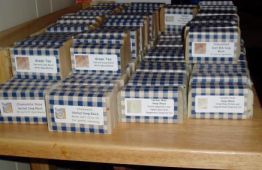
The paper is precut into 5.5″ by 7.8″ sheets then run through the printer. Ingredients, name of soap, date soap was crafted, and our logo is printed onto the sheet. If you make a lot of soap, packaging also helps to keep them all straight. The crafting date lets me know when they are ready to distribute and use. I like to cure the bars for 6-8 weeks. Curing definitely improves the bars, particularly the ones with goat milk and even a batch you aren’t happy with in the beginning can become a very pleasant and effective bar of soap after curing.
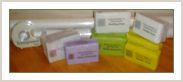
A much more cost effective method of packaging includes basic craft paper purchased from Creative Express for less than $10. Thus far, I have wrapped in excess of 100 bars of soap using less than half the craft paper. I used self-adhesive labels that are run through the printer and decorated with a logo and soap information.
Note: Even if you are not substituting any of the base oils in our formulations with another oil, run the entire formula through a lye calculator to ensure that you are using the accurate amount of lye. Do this as a rule, regardless of circumstances. If you make it a habit, you can’t go wrong.