
Home
About Us
Additives
Ingredients
Instructions
Recipes
Creating Recipes
Links
Contact
Faqs
Lye Safety
Molds
Coloring Soap
Troubleshooting
Packaging Soap
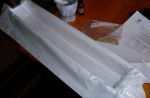


It’s easy enough to make a loaf mold for the size of bars you’re after. I wanted a simple loaf mold where I could cut the bars into rectangles, much like cutting bread. I line the molds with Freezer Paper – plastic side up and and it works very well. I also ordered a Soap Cutter from Sweet Prairie Soaps to help me cut the bars more evenly. Coincidently, a loaf made in our Loaf Mold will fit nicely in the cutter.
After the soap is poured in the mold, I insulate it with a large towel, which is sufficient in our dry climate. Goat Milk soap doesn’t always need to be insulated. It depends on the formula and climate conditions in your area. We’ve documented the process with photos below. Most wood pieces were pre-cut from Home Depot with the exception of the base and side pieces. We made two loaf molds for approximately $17. Each mold produces 20 good sized rectangular bars, each weighing between 4 and 5 oz.
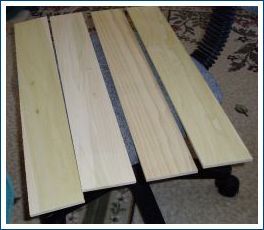
A trip to Lowes or the Home Depot and $17 in pre-cut Poplar was all we needed to get started. The larger board is 3/4″ thick, 24″ long x 12″ wide. This piece will be cut into three strips – two for the bottom of the mold and 2 side pieces.
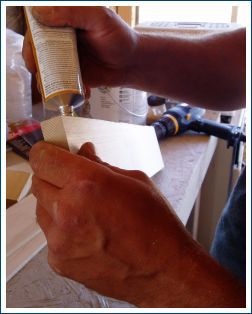
This is how we want the molds to look when we’re finished. Again, we’ve cut the larger, thicker board into three strips. Two of which will be used as the bottom piece of each mold. The other piece will be used to make the ends. Since the side boards are only 1/4″ thick, we need the 3/4″ thick bottom board and end boards to hold the screws we’ll be using without damaging anything. We’re using Liquid Nails as an added binding method.
Side Boards for the Mold
The side boards are 1/4″ thick, 24″ long by 3 1/2″ wide. They will not require cutting. The thicker bottom piece will be cut for the side-ends. There are enough of the side boards to make two loaf molds.
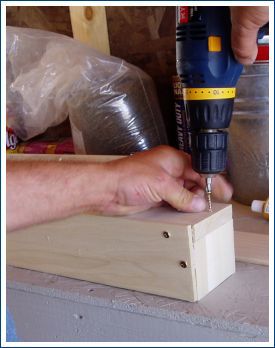
Now for the screws. As you can see, the 3/4″ board was necessary to hold the screws without damaging the side-boards.
We recommend using screws that are at least an inch long or skinny nails at least an inch long. We’re using screws we already have on hand and luckily, they are an inch in length.
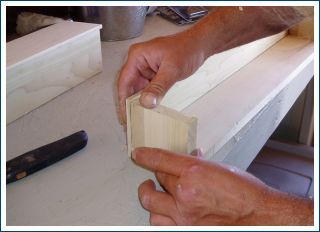
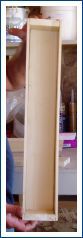
This is the 2nd mold. Using the 3/4″ pieces on the ends of the mold allows a place to put the screws for a more stable long-lasting mold.
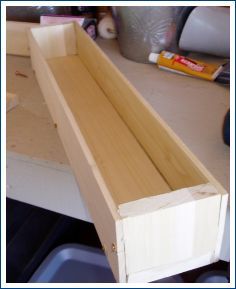
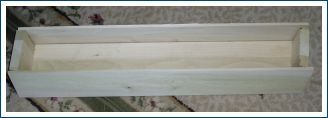
This is the desired end result. Of course, we line the molds with freezer paper before we pour the soap, but as far as a perfect mold for what we want, I think this is it. Ultimately, we hope to have 2 1/2″ x 3 1/2″ bars that are at least an inch or more thick.